Ultimate Design Setup and Orientation on a Dieline
The Design Setup is apparently the most important element in designing a box package, where precision working is required. No matter whether someone works on Illustrator or any other platform, a person needs to learn how to set up and orient his or her art on a dieline to ensure that the print run will be completely successful. At Panda Scientist we have topnotch packaging solutions, but also we can counsel you on the design aspect of preparing the perfect packaging for your boxes. The following article is all about guiding you through important steps in preparing your artwork on a dieline and aligning that artwork with your packaging production.
Design Setup : What Is a Dieline and Why Is It Important?
A dieline is, in essence, a template showing the exact dimensions and fold lines of a box to serve as an artwork and design-reference. It will specify where the box will get cut, folded, and put together. For the use of a dieline template, ensure that your design will not only fit the box shape but print correctly, for instance, without cutting off text or misaligning the artwork. At Panda Scientist, we provide free ones upon request so that you can start up your project with ease. The dielines we provide are equipped with color-coded guides that show you where to place your artwork so that it doesn’t go to production with errors.
Key Color-Coded Guide Lines on Your Dieline
It is important to follow the color-coded guidelines on the dieline so as to ensure precise printing of any design. Each line serves different purposes, and every purpose is relevant to the final product. Knowing the purpose will save you many mistakes, allowing you to keep your design intact through the production process. Such purposes include ensuring that the artwork does not get cropped or that the folds align perfectly; either way, compliance with the guidelines will create the smoothest possible opportunities for accurate printing. Taking the extra steps to look and align your artwork with the lines will save you time, effort, and a lot of potential reprints.
- Green Lines (Bleed Lines)
- Black Lines (Cut Lines)
- Red Lines (Fold Lines)
Green Lines (Bleed Lines)
Thus, background colors or images for your artwork should be beyond the green lines because those lines indicate where the product will be trimmed. Anything past the green line will not be printed, so go ahead and extend your artwork here to avoid white borders after trimming.
Black Lines (Cut Lines)
Your cutting lines fall here. Please pay attention to the artwork and any important text and keep it at least 1/8 inch from these lines. This buffer allows cutting your box while keeping any essential part of the design from being chopped off.
Red Lines (Fold Lines)
The red lines indicate the folding lines for the box. With regard to important texts or graphics, try to stay away from these lines for at least 1/8 inch (0.125 inch). If not, there is a danger that design elements will be folded over by the box construction, thereby causing partial or total obfuscation of any important text.
Setting Up Your Artwork : Definition File Requirements and Best Practices
After receiving your dieline template, it becomes essential to make sure that your artwork complies with certain file requirements for the best outcome. These are guidelines that enhance the quality of printing and prevent issues arising during production. When following these tips, you can be assured that your design will be sharp, clear, and aesthetically pleasing when it reaches the final product. Everything from color mode to expanded fonts to embedded graphics matters. Following the advice will give you the best shot at a perfect finish and result that fulfills your vision.
- CMYK Mode Only
- Pantone/Spot Colors
- Text & Fonts
- Flatten Transparencies
- Image Embedding
- Bleed Area
CMYK Mode Only
Your artwork should always be in CMYK mode to ensure accurate color printing. RGB mode is not suitable for print and could lead to color discrepancies.
Pantone/Spot Colors
Before submitting files for printing, it is wise to convert any Pantone or spot colors to CMYK. Spot colors are those colors that can shift somewhat during the prepress process, so it is better to work with CMYK to ensure consistency in appearance.
Text & Fonts
Make sure that all text is converted to outlines or shapes (vectors), thus preventing any font compatibility issues when the file is opened on another system. Also avoid very thin or intricate fonts, as they become very hard to read once printed.
Flatten Transparencies
Any transparent elements in your design should be flattened before the artwork is sent. This step prevents any issues from arising during the printing process and guarantees the accurate representation of your design.
Image Embedding
When importing any images into the design, it is preferable that they be embedded into the document to avoid missing assets during production. It is also advisable that high-resolution images be used to deter pixelation.
Bleed Area
Implement 0.25 bleed for artwork beyond the dieline. This will eliminate the final cut box from having unsightly white jagged edges.
Orientation of Artwork
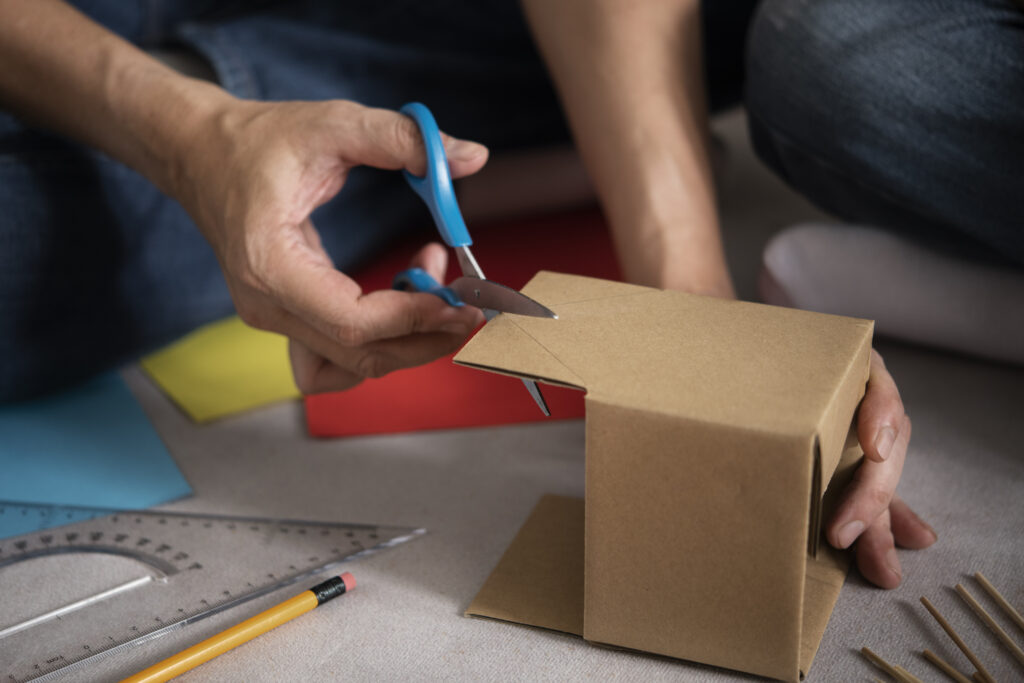
How the artwork was oriented on a given dieline is one of the most important aspects of designing box packaging. This relates to the artwork on both the inside and outside of the box. To ease the process, Panda Scientists provides useful visual aids in the form of box models to assist in visualizing how the panels of the box align.
Using these aids can help to ensure that all your artwork—from the logos to the text—is going to be seen exactly when the box is opened and made into its 3D form. Should you have any hesitance or uncertainty about how to position certain elements for the interior of the box, just reach out to us at Panda Scientist, and we will walk you through the process and help you make necessary adjustments.
Conclusion
In sum, setting up your artwork on the precise dieline may begin the process of designing extraordinary packaging that is perfectly in line with your brand. Keeping in mind the points above and using Panda Scientist’s easy-to-whip-up templates and visual aids will help you to see to it that your box packaging appears just the way you thought it would.
You can rest assured that we at Panda Scientist realize the importance of getting everything just right, which is why we provide you with the most accurate dieline templates, along with professional advice, to guide you through every step of your design process. No matter if it’s the design of a brand-new product or the rebranding of your packaging, we offer help with advanced packaging solutions.
Start your design today with Panda Scientist—your trusted partner in box packaging excellence.


